
DIY Valentine’s Day Roses- The Red Headed Hostess
Just in case you want to try something a little different with the roses you may be getting this weekend…

Here is a little tutorial on a simple, modern way to arrange your roses.
Or you could leave this up on the computer screen in hopes that your hubby may see it and try it yourself.
You never know.
But I should warn you that men and flower arranging … well… I will just warn you.

After all of the weddings and flower arranging I have done, I have learned that this low, chic arrangement is the easiest to teach others to do.
So do not be afraid to try this… I believe in you.
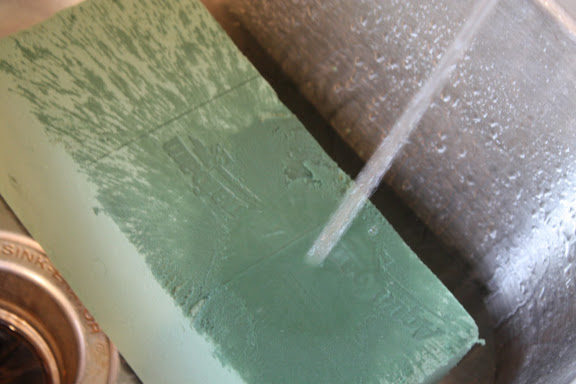
The only thing you need that you won’t likely have at home is this floral foam. You need the kind for FRESH flowers not silk. They look the same but are NOT the same. You can get this at Walmart or craft stores.
Soak the foam until it is wet all the way through.
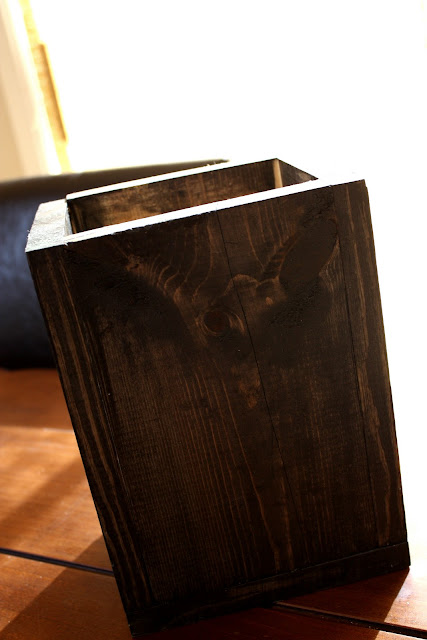
Find a box, ceramic vase or some base that is interesting to you. My husband made me a bunch of these boxes. I love them.

I filled the bottom with some blocks and then put in a baggy with the zip cut off
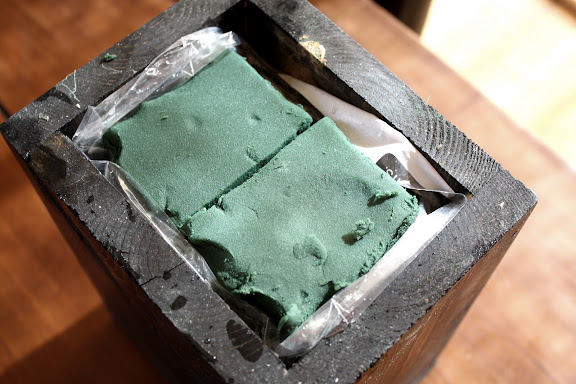
Then you stuff the oasis (floral foam) in the box

Cut your roses so there are only 4 or 5 inches of stem. It would be wise to cut off 1/4 inch of the stem right before you put it in the foam so the stem has a nice fresh cut.

And then put them in. I like to do them symmetrical.

This box fit 4 rows of 3 roses. Perfect for the dozen.

If you like to dry your arrangements I suggest to not soak the foam. Your roses will die… yes, but that is better than having wet foam in the box for a long time. If you want them fresh and to last a long time, set them out in your garage at night. If it gets below freezing, cover the top with a dish rag.
If you want a little extra, custom touch – add a thin line of moss around the edges. I used reindeer moss – and suggest that you get the moss wet before working with it. Far less messy and stubborn.
Happy Valentines!

Nice!